What Happens During a Hip to Gable Loft Conversion?
If you’re considering a hip to gable loft conversion, understanding the construction process can help you prepare for your project. This type of conversion transforms a sloping roof into a vertical gable wall. As a result, homeowners can gain valuable additional living space without extending their property’s footprint. However, many homeowners wonder what the building work involves and how long everything takes.
In this guide, we’ll explain What Happens During a Hip to Gable Loft Conversion? We’ll cover the main construction stages, potential disruption and what to expect before your new room is ready.
What Is a Hip to Gable Loft Conversion?
A hip to gable conversion involves replacing the sloping side of a hipped roof with a vertical wall. Builders then extend the roof ridge to meet the new gable end. Consequently, this creates additional headroom and usable floor space within the loft. These conversions are particularly popular with semi-detached and detached properties featuring hipped roofs. Depending on the available space, homeowners can create an additional bedroom, home office or bathroom.
Stage 1: Initial Survey and Planning
Before construction begins, a professional survey helps establish whether your property is suitable. During this stage, your builder will assess the existing roof structure, available headroom and supporting walls. Additionally, the survey helps identify potential structural challenges before work begins. Your project may also require architectural drawings, structural calculations and building regulations approval. Some hip to gable conversions fall under permitted development rights. However, this depends on the property and proposed alterations. Therefore, checking planning requirements with your local authority is essential before construction starts.
Stage 2: Scaffolding and Site Preparation
Once the necessary approvals and designs are in place, the construction team can prepare your property. Scaffolding provides safe access to the roof and creates a suitable working environment. Furthermore, builders will arrange appropriate weather protection before opening sections of the existing roof. Materials and equipment will also arrive on-site during this stage. Although some disruption is unavoidable, careful preparation helps keep the project organised and manageable.
Stage 3: Structural Alterations to the Roof
This is one of the most important stages of the entire conversion. Builders carefully remove the relevant section of the existing hipped roof. They then construct the new gable wall and extend the roof structure. Depending on the design, additional structural supports may also be necessary. For example, steel beams can help support the new floor and roof loads. Throughout this stage, the team must follow the approved structural design and relevant building regulations. Once completed, the new roof shape creates considerably more usable space than the original hipped design.
Stage 4: Installing the New Roof and Windows
Following the structural alterations, the next step involves making the roof weatherproof. Builders install suitable roofing materials to match the existing property wherever possible. Additionally, roof windows or dormer windows may be incorporated into the design. These features introduce natural daylight and help create a bright, welcoming living environment. Proper insulation and weatherproofing are particularly important during this stage.
As a result, the finished conversion can provide a comfortable space throughout the year.
Stage 5: Creating the New Floor and Staircase
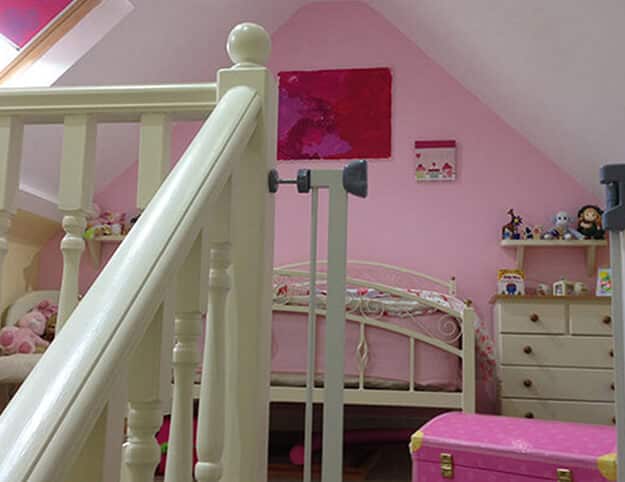
A loft conversion needs a suitable floor structure capable of supporting its intended use. Therefore, builders install or strengthen floor joists according to the structural calculations. The existing ceiling joists alone are not normally suitable for supporting a new habitable room. A permanent staircase must also provide safe access to the converted loft. Its position requires careful planning because it can affect the layout of the existing first floor. Furthermore, the staircase must meet relevant building regulations, including requirements for safe access and escape.
Stage 6: Electrical Work, Plumbing and Insulation
Once the main structure is complete, attention turns to the internal services. Electricians install wiring for lighting, sockets and other electrical features. Meanwhile, plumbing work may be necessary if the conversion includes an en-suite bathroom. Insulation is also installed to help the new room meet current energy efficiency requirements. Additionally, appropriate ventilation helps manage moisture and maintain a comfortable indoor environment. Fire safety measures, including suitable alarms and escape provisions, must also be addressed.
Stage 7: Plastering, Decorating and Finishing Touches
The final construction stages bring the new living space together. Builders install plasterboard, complete plastering and prepare the walls for decoration. Next, flooring, skirting boards, doors and other internal finishes can be fitted. Depending on your design, this stage may also include built-in storage or bathroom fittings. Finally, the completed work undergoes the necessary inspections before the conversion is signed off.
How Long Does a Hip to Gable Loft Conversion Take?
A straightforward hip to gable loft conversion often takes approximately eight to twelve weeks to complete. However, this is only a general guide. The actual timeframe depends on several factors. These include the property’s structure, weather conditions, design complexity and additional features. For example, installing an en-suite bathroom may require extra plumbing and finishing work. Therefore, your builder should provide a realistic project schedule based on your individual requirements.
Can You Stay in Your Home During the Conversion?
In many cases, homeowners can remain in their property while construction takes place.
Much of the initial work happens externally, particularly while builders alter the roof structure. However, installing the staircase and completing internal alterations can cause additional disruption. There may also be periods of noise, dust and restricted access. Discussing these stages with your builder beforehand helps you plan around the work.
Transform Your Home with High & Dry Renovations
Understanding What Happens During a Hip to Gable Loft Conversion? can make the entire process feel much more manageable. From the initial survey to the finishing touches, every stage contributes to creating a safe, practical living space. At High & Dry Renovations, we understand the importance of careful planning, quality workmanship and clear communication. Whether you’re considering an additional bedroom, home office or en-suite, our team can discuss the possibilities for your property.
If you’re wondering What Happens During a Hip to Gable Loft Conversion?, contact High & Dry Renovations today to discuss your project and arrange an initial consultation.
We use cookies to ensure that we give you the best experience on our website. If you continue to use this site we will assume that you are happy with it.